Clicking Settings in the main navigation on the right side of your platform will take you to the Admin panel. Here you can adjust, edit your Organization info, upload a Custom Logo, add new Members, create tags, metadata, or channels, and view your Security Log.
User:
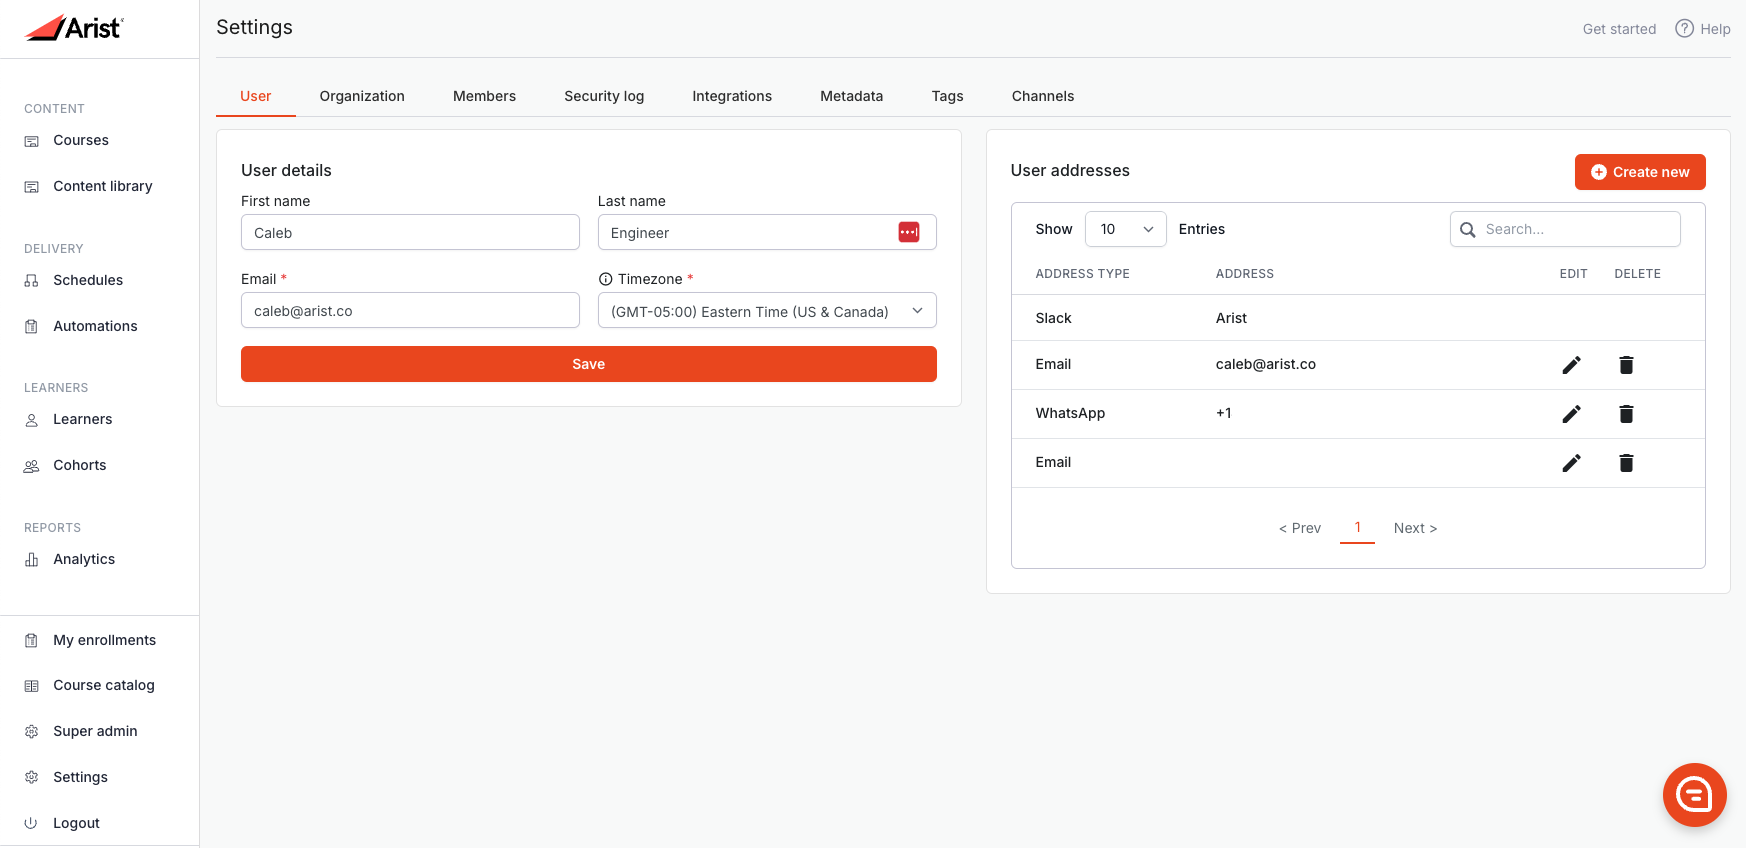
This section is available under settings for all members and learners alike. Here you can update and manage your personal information, delivery addresses and remove or edit them as needed.
Organization Settings:

Name: This is the name of your Organization as it appears on your records, including all bills and communication from Arist.
Org ID: Your unique Arist Org ID.
Domain: This is the prefix that shows before .app in your classroom and app domains. If you share your classroom domain with your Learners, we recommend choosing a familiar domain that will resonate with your Learners.
Timezone: This sets your organization's time zone and is used to determine when messages will be sent if you have not set a Schedule timezone for a course and the Learner has not selected a timezone upon enrollment.
Language: Here you can choose the default language of your platform.
Logo Preview: Here you can upload your Organization's logo. This logo will appear in course messages where an image is not already set.
Submit Button: After making any changes to your Organization Settings, be sure to click the submit button to save your changes.
Member Settings:
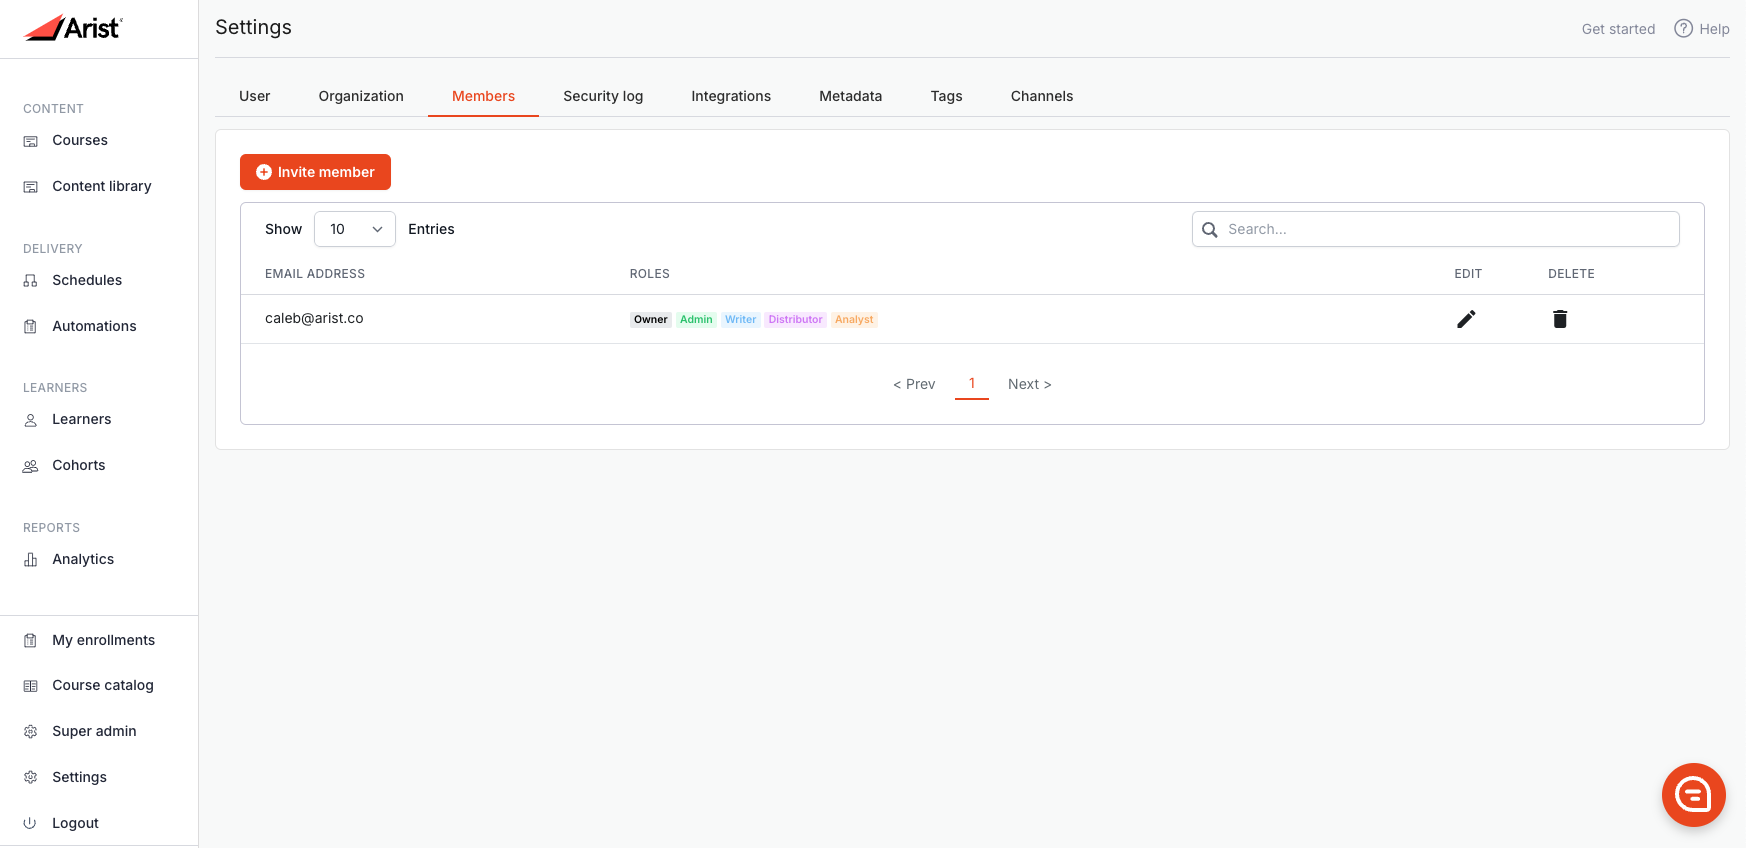
Email address: The email address of your colleague and fellow contributor to your Arist curriculum.
Roles: A display of the current roles assigned to the corresponding Member. Different roles have varying access to the tool. See more on Roles at the end of this section.
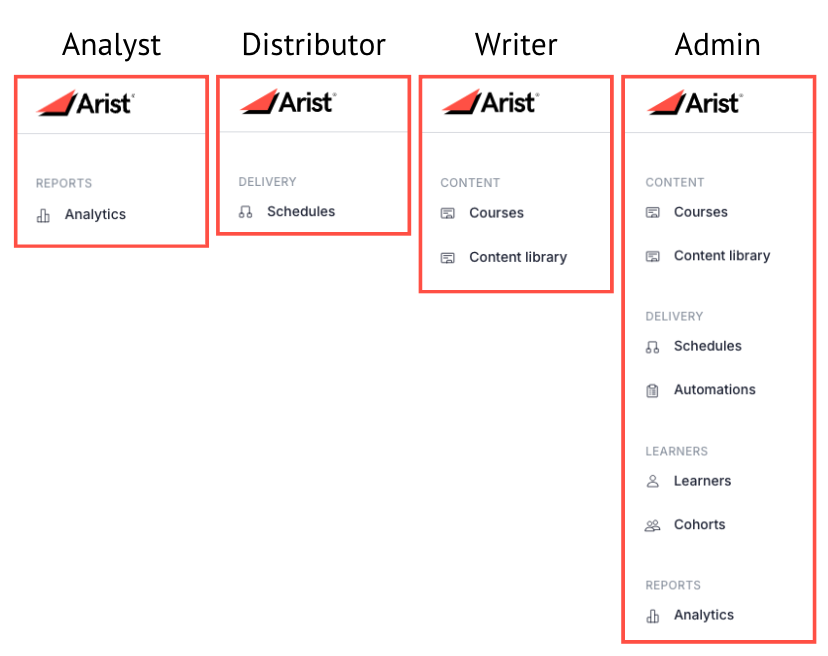
Member Permissions: Depending on the tasks a member is responsible for you can assign one or multiple of the following roles to them in the member settings tab. Each role will have access to different pieces of the platform depending on what you choose.
Invite Member: By clicking the Invite Member button, you can add a new Member to your organization. An invitation email will be sent to them where they can create an account.
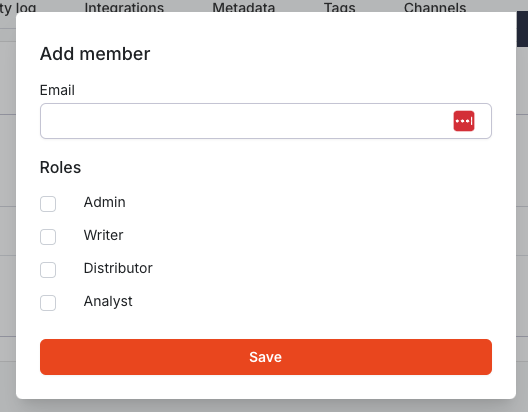
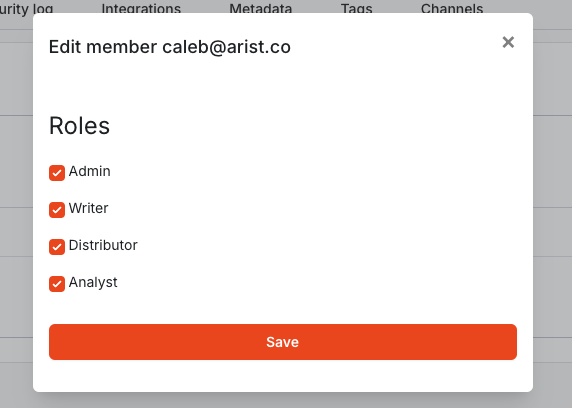
Edit Member: You can also edit existing members by clicking the pencil icon to the right of the corresponding member. When creating a new member or editing an existing member, the options are the same. Just choose/remove their roles and click Save.
Roles:
Writer- Writers have the ability to create new courses and mark them as Published in the Course Builder. They can set course lengths and subjects and add content and assessment questions. They can also view the Getting Started and Courses pages.
Distributor - Distributors have the ability to choose where and how courses are deployed. This can be managed by clicking Schedules in the left-hand bar. They can also view the Getting Started and Courses pages.
Analyst - Analysts can view user, course, and organization-wide engagement metrics on the Analytics page. They can also view the Getting Started and Courses pages.
Admin - Along with access to all tools within Arist, Admins can invite members to the Organization and manage permissions.
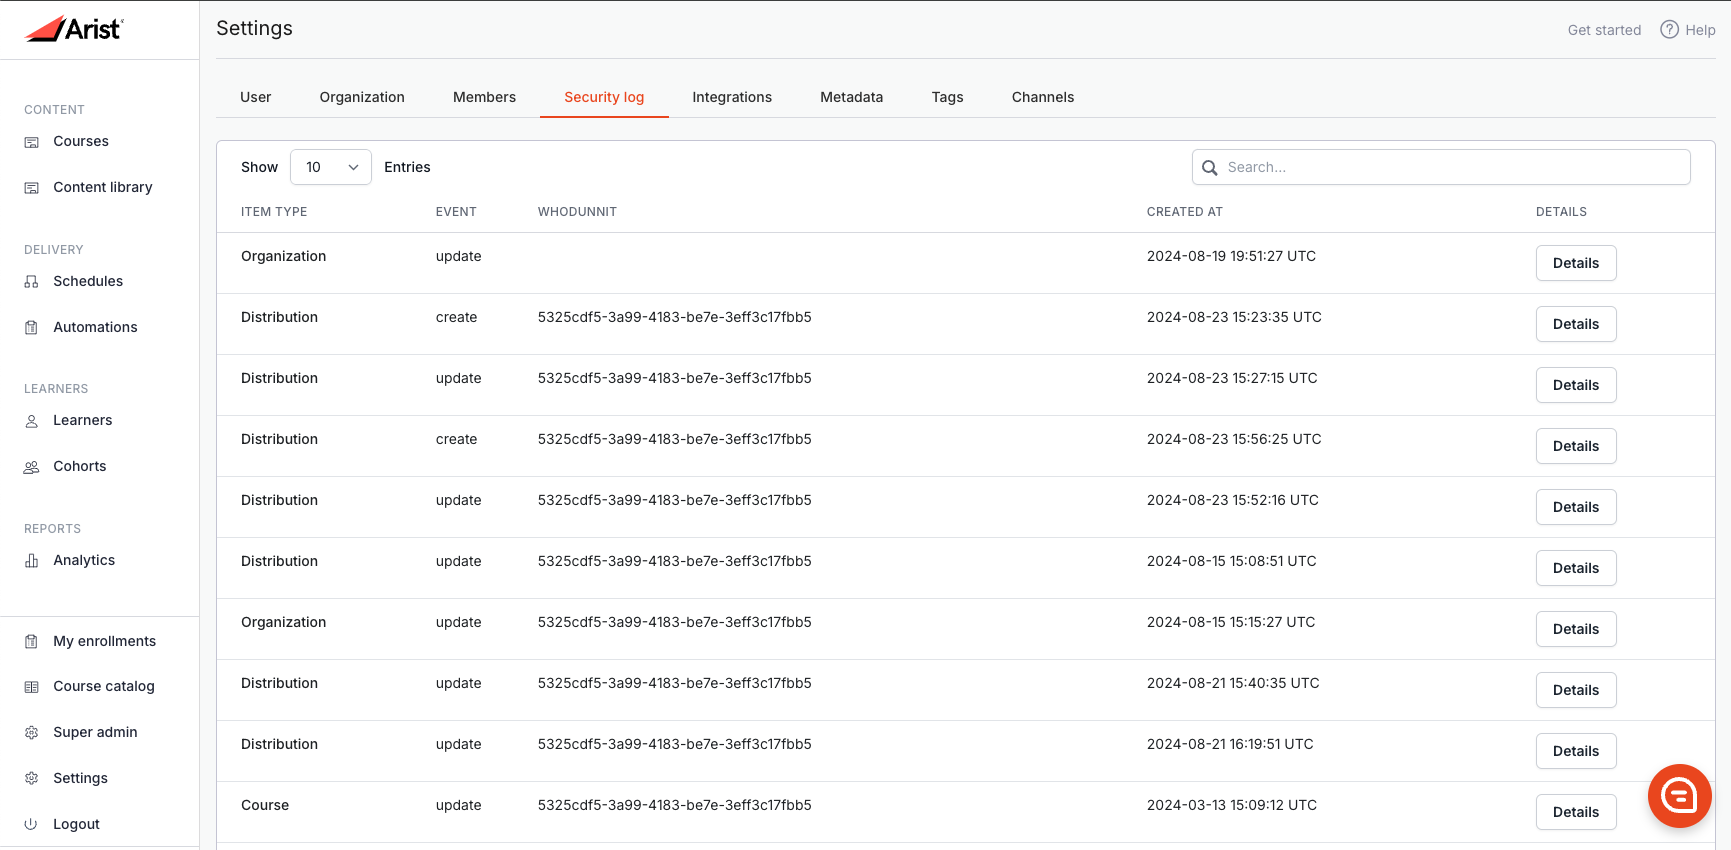
Security Log:
The security log keeps a running record of all changes and updates made in the system including changes to settings, accounts, schedules and more.
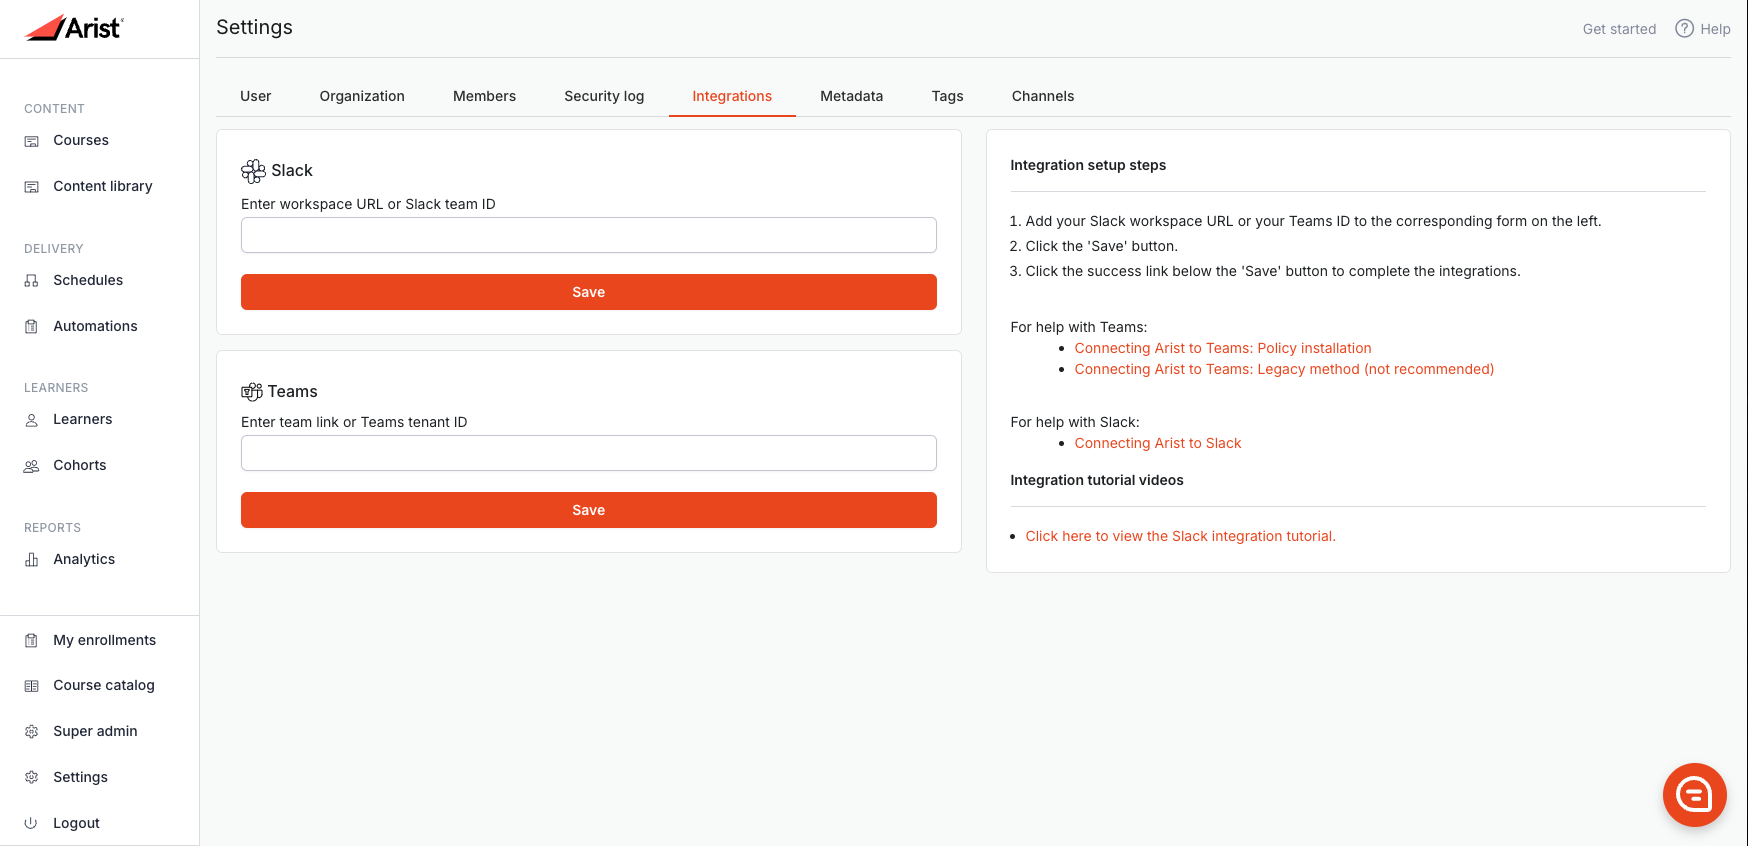
Integrations:
The integrations tab is where you can set up and link Arist to your Teams Tenant or Slack Workspace, allowing you to seamlessly push content to your employees via these platforms. For more information on this please review the following articles:
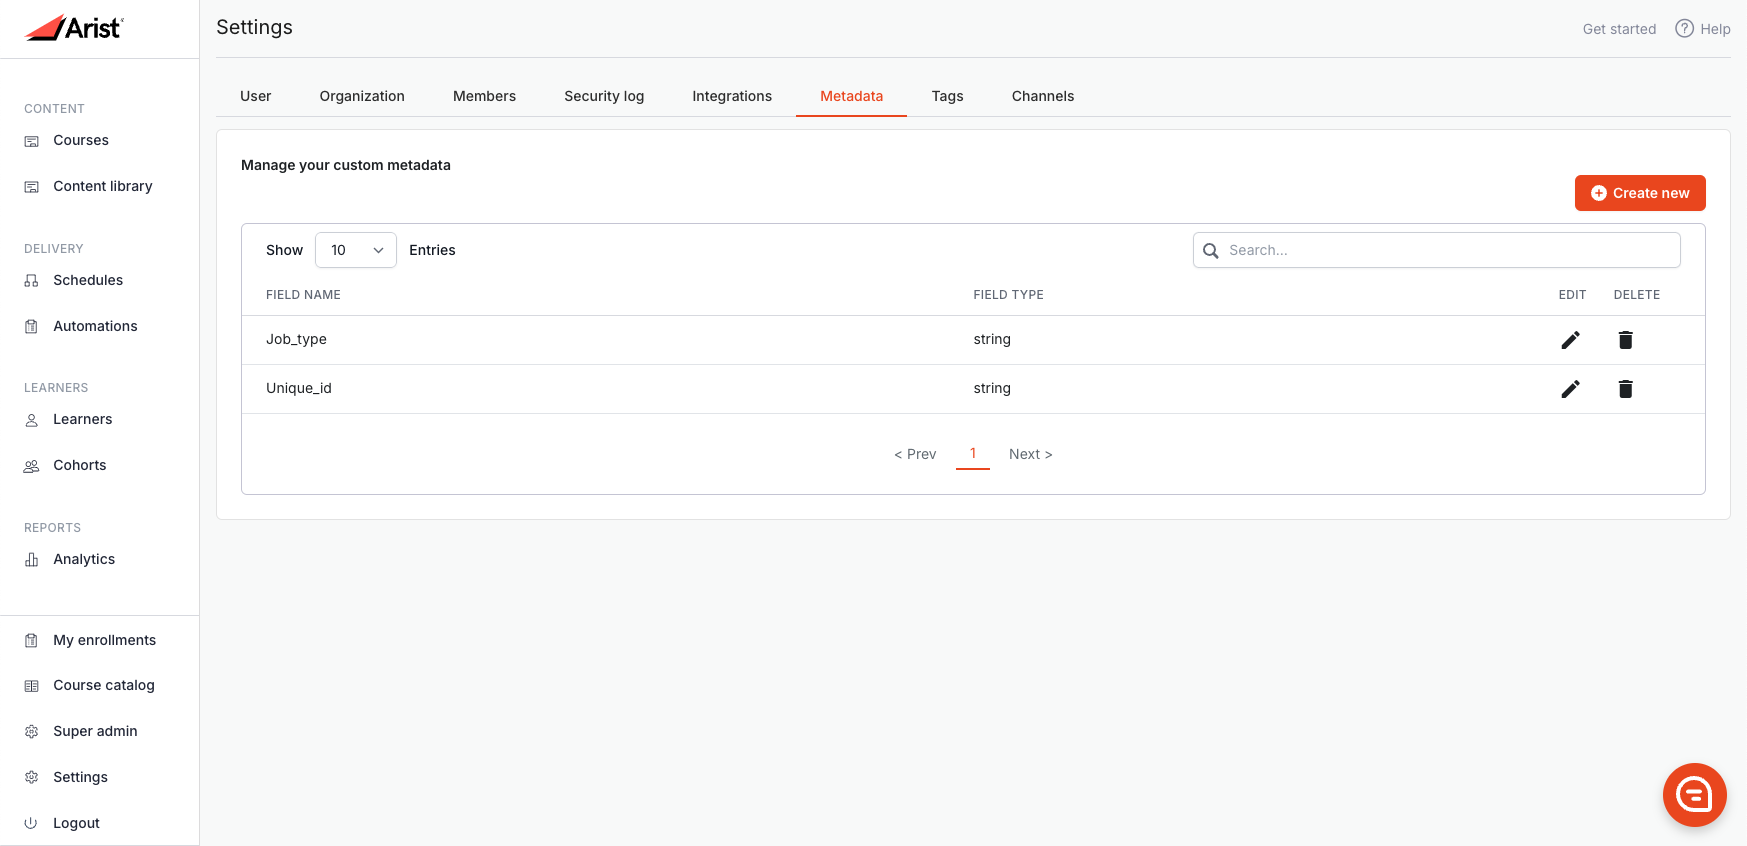
Metadata:
Here you can add custom metadata values to Arist to add to Learner records. These can be used to trigger automations, build dynamic cohorts and improve specific Analytic tracking. This can also be done in bulk through a CSV upload and fields added will populate here. Read through Uploading Custom Metadata to a Cohort for more information.
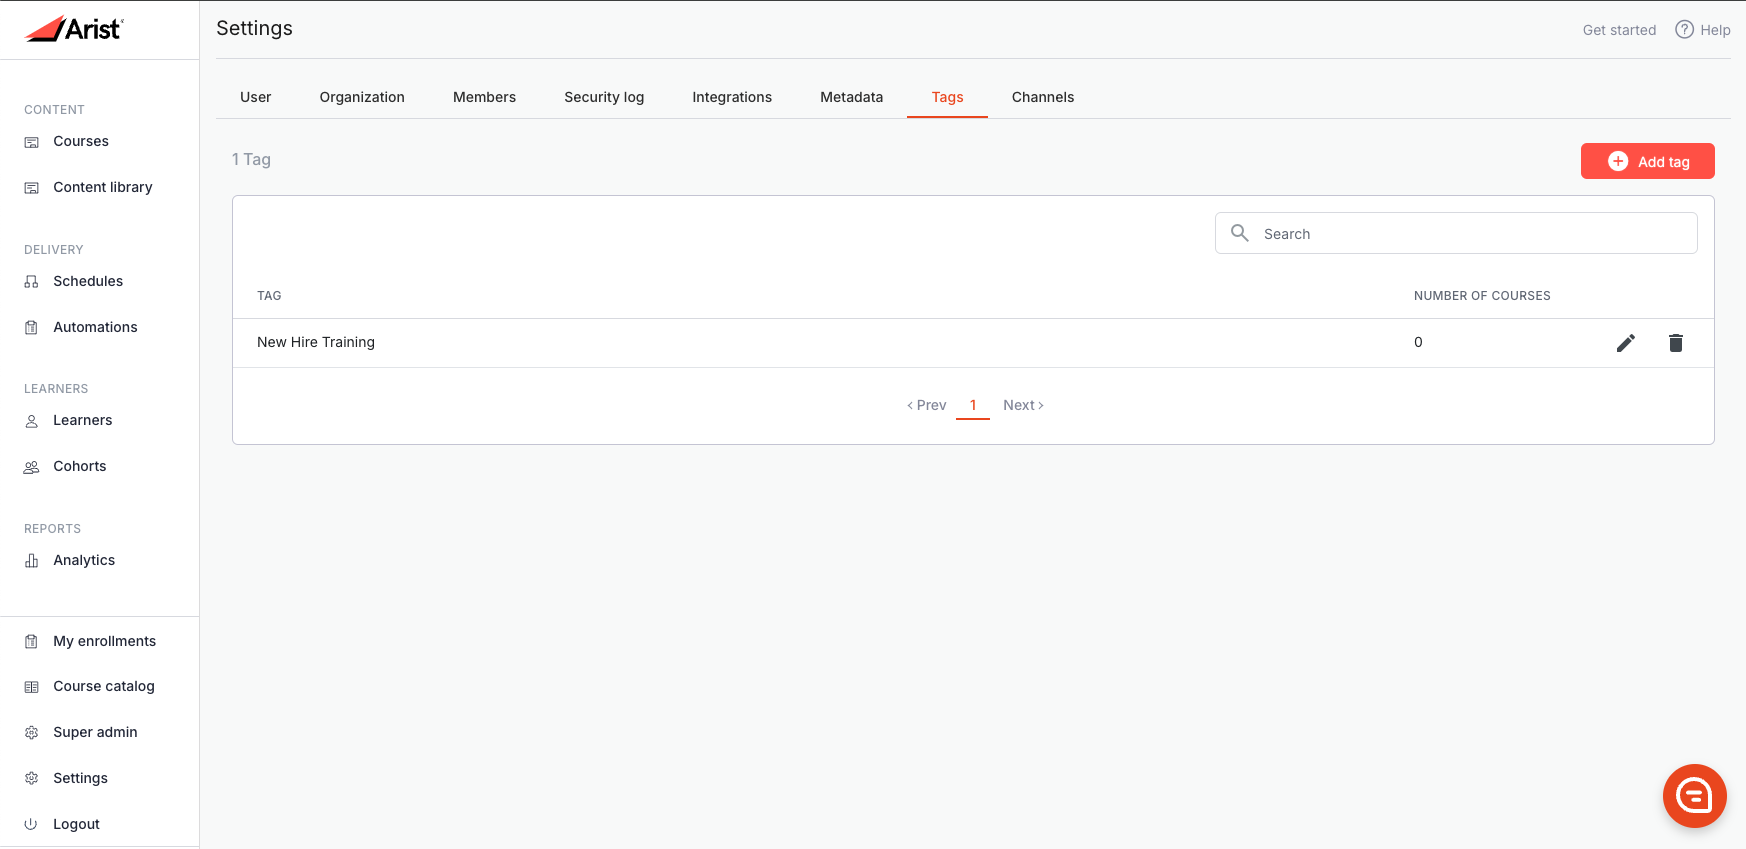
Tags:
Tags are a way to create labels for specific types of courses and organize them for easy filtering and searching in the Courses Tab. Simply click Add Tag and give it a name.
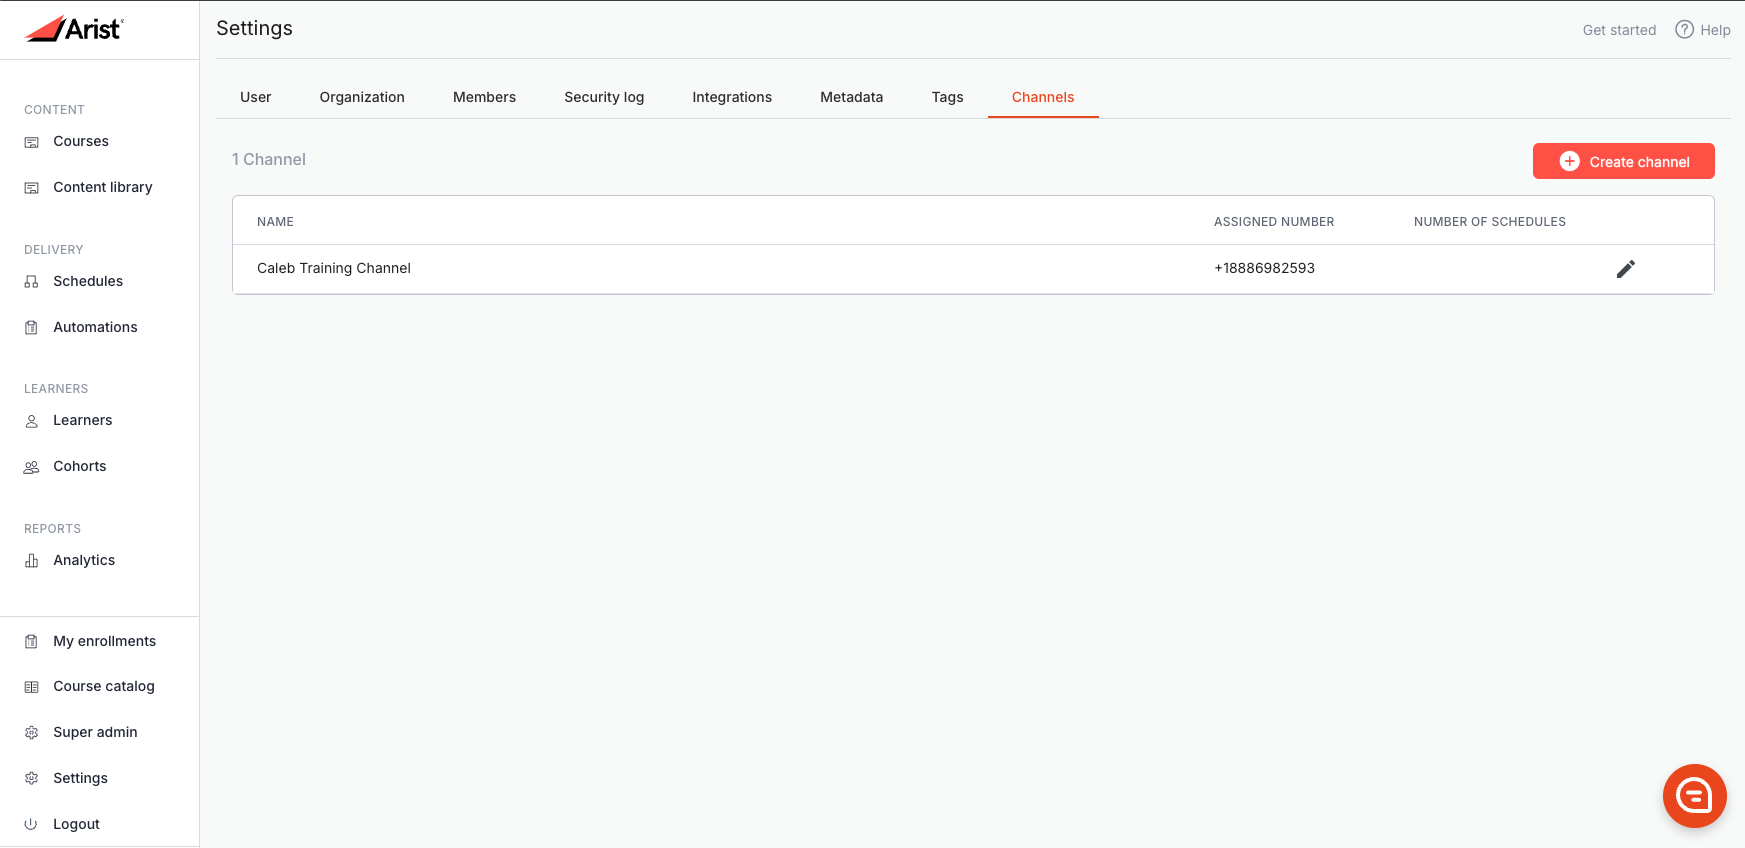
Channels:
If you are delivering courses via SMS or WhatsApp, you have the option to create specific Channels for your content to better organize content by theme for you learners. For more on this feature, read Using The Channels Function in Arist for SMS and WhatsApp.